


Create a Trendy Galactic Poster Design in Photoshop
Galactic space scenes are a popular theme for digital art, they’re packed full of texture and vibrant colour, which are two ingredients of an awesome design! Using Photoshop’s blending modes along with a mix of textures and brushes, let’s get lost in space and create an abstract cosmos poster design.

Open up Photoshop and create a new document. Depending on your overall aims, you might want to specify dimensions for a printed poster, otherwise a 72dpi document is perfect for on-screen use. Fill the background with a dark grey.
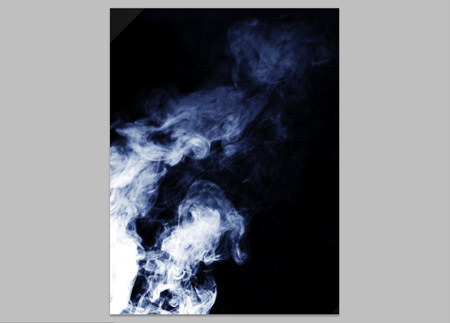
Grab a couple of source images of smoke clouds, these particular images are courtesy of Shutterstock (1)(2). Paste the images into the document and position to flow diagonally across the design. Change the blending modes to Screen and drop the opacity to around 15%.
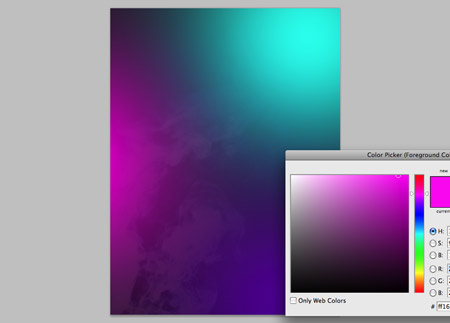
On a new layer, dab three bright colours with a large soft brush. Pink, turquoise and purple work well together.
Change the blending mode of the colour spots to Overlay to allow the colours to cast over the underlying textures.
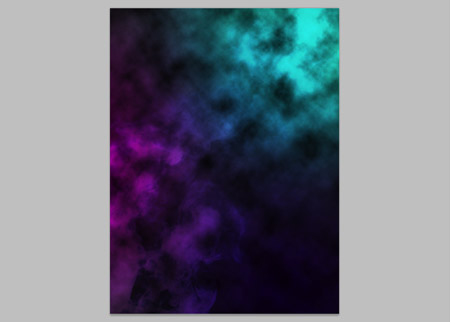
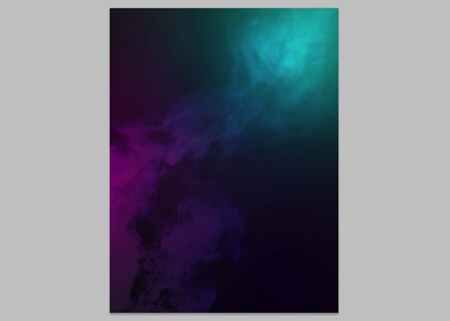
On a new layer, change the colour swatches to their default black and white settings (D). Then go to Filter > Render > Clouds. Change the blending mode to Overlay and tone down to 65% opacity.
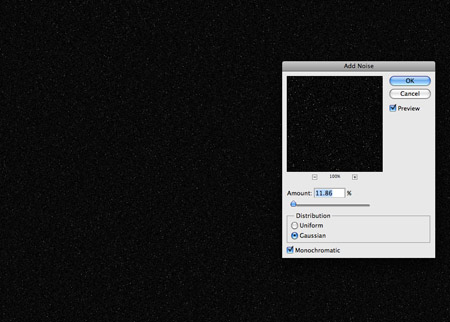
Fill a new layer with black, then go to Filter > Noise > Add Noise. Select an amount of around 10%, with the Gaussian and Monochromatic options selected. Change the blending mode to Screen and adjust the Levels (CMD+L) black and white points to create a field of distant stars. Create a Layer Mask and dab areas with a large soft brush to add variance to their intensity, making some brighter than others.
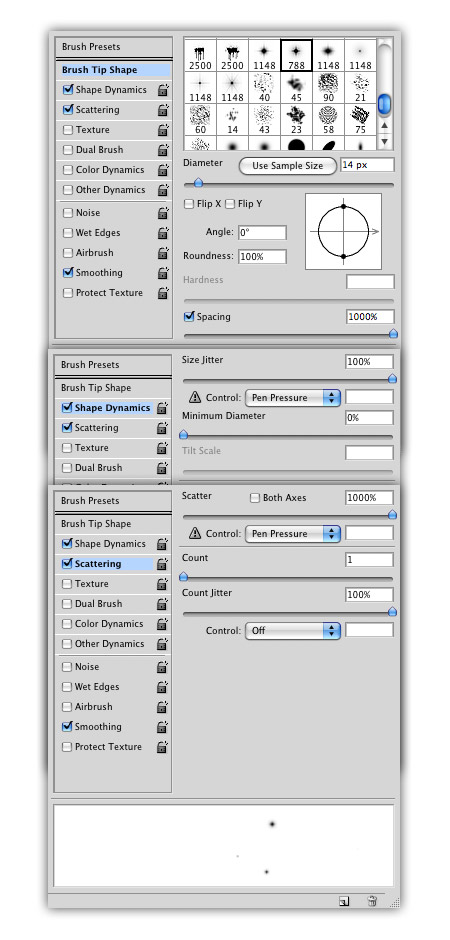
Download this handy collection of Star Brushes, then set up your brush settings in Photoshop as follows. Select a star brush from the pack and turn down the size, also adjust the spacing to 1000%. Under the Shape Dynamics tab, change the Size Jitter to full and Minimum Diameter to 0%. Under the Scattering tab, change the Scatter to full.
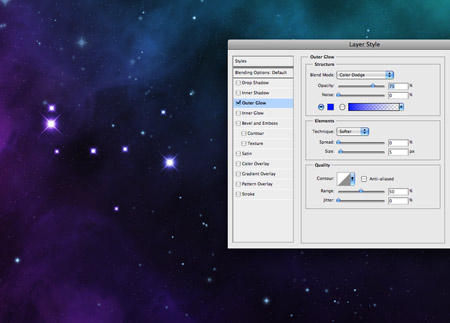
Paint in a variety of stars to fill out the space scene, adjust the brush size between strokes to give a wider range of sizes. Give the star layer an Outer Glow of a light blue, then add a Layer Mask to adjust the intensity of the stars.
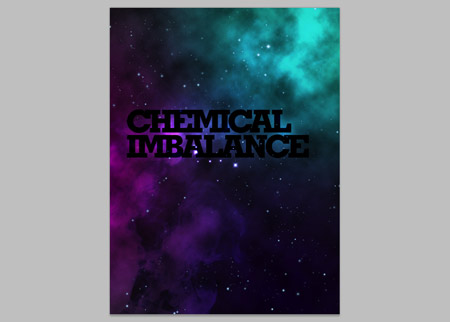
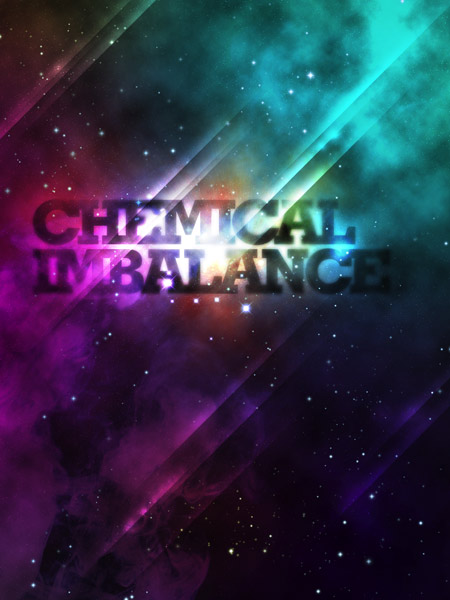
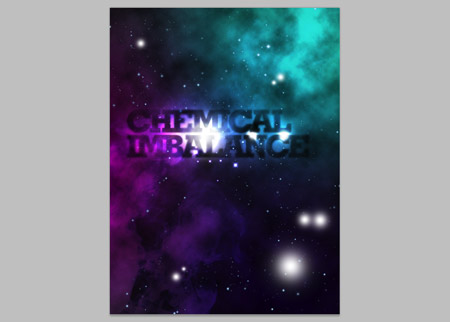
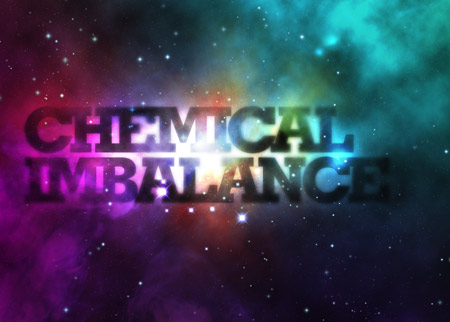
Grab the Type tool and create a simple typographic layout. Here I’m using the words Chemical Imbalance, with a fat slab-serif font (Geometric Slab-Serif). The tracking is tightened and leading shortened to spice it up.
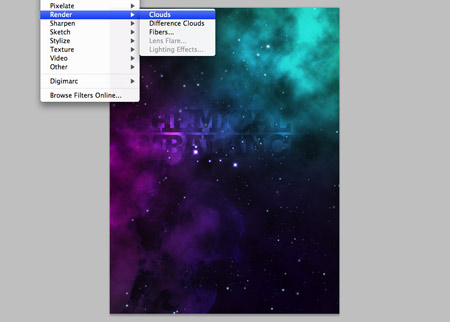
Add a Layer Mask to the type layer, then go to Filter > Render > Clouds to erase out random areas of the text.
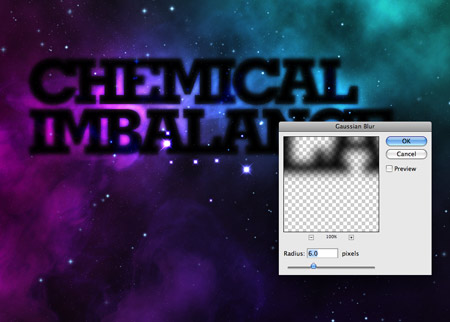
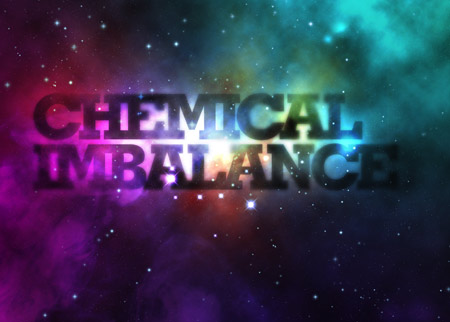
Duplicate the layer, then add a Gaussian Blur of around 6px. Change the blending mode to Overlay.
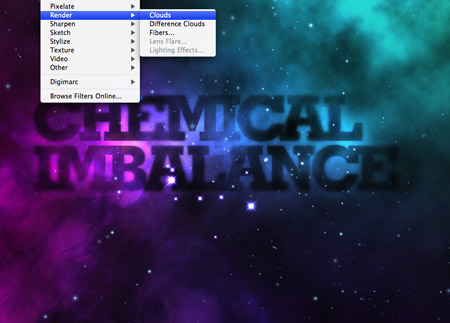
Add another clouds rendering to this layer’s mask to erase out different areas of the text. Use a normal soft brush to also manual erase out specific areas of the text layers.
On a new layer, paint in a range of white spots with the Brush tool. Changing these to Overlay will give intense areas of light.
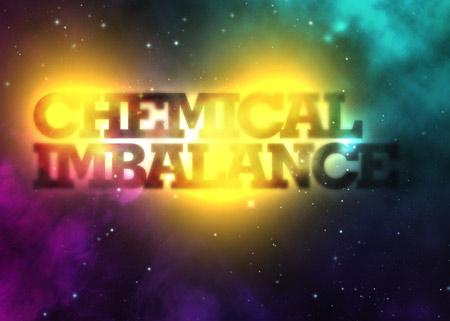
Continue to paint in more dabs of colour, this time spots of yellow around the text.

Add a layer mask to the yellow spots, then add a rendering of clouds to give a textured appearance.
Change the blending mode to Color Dodge to blend the colour spots into the design as casts of vibrant colour.
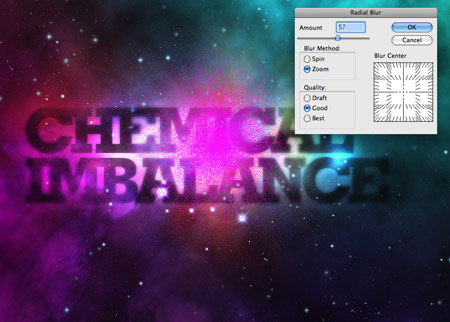
Paint a spot of pink, then change the blending mode to Dissolve. Add a Radial Blur of around 60% using the Zoom setting.
Merge this pink spot with a new blank layer (CMD+E) to reset the blending mode back to Normal, then change the mode to Color Dodge. Change the Opacity to around 60% to tone down the effect.

On a new layer, draw a spot of white using a soft brush. Grab the mask tool and delete away half of the circle.
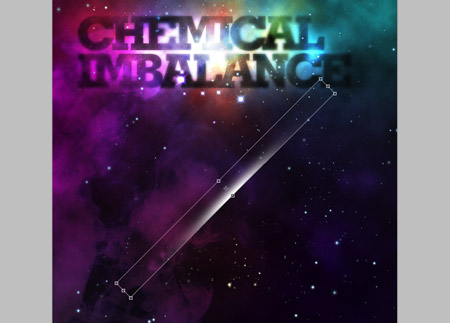
Press CMD+T to transform the semi-circle, then stretch and squash it into a cast of light. Rotate it by 45% (hold Shift) and move into position on the design.
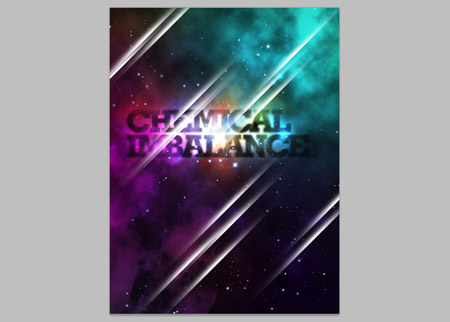
Press the ALT key and move copies into various places on the design. Overlap a few casts to give the impression of streaks across the whole design.
Change the blending mode to Overlay to allow the white to interact with the underlying colours.
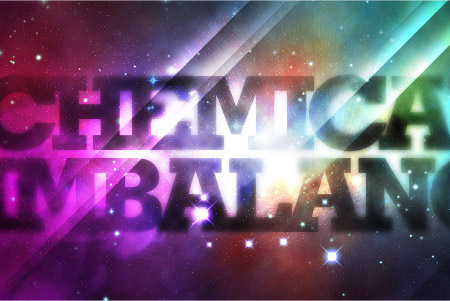
Sit back and cast your eye over the design, make any tweaks to the opacity of layers or tone down areas with brush strokes to the layer mask to erase out areas taking too much prominence.
Open up Photoshop and create a new document. Depending on your overall aims, you might want to specify dimensions for a printed poster, otherwise a 72dpi document is perfect for on-screen use. Fill the background with a dark grey.
Grab a couple of source images of smoke clouds, these particular images are courtesy of Shutterstock (1)(2). Paste the images into the document and position to flow diagonally across the design. Change the blending modes to Screen and drop the opacity to around 15%.
On a new layer, dab three bright colours with a large soft brush. Pink, turquoise and purple work well together.
Change the blending mode of the colour spots to Overlay to allow the colours to cast over the underlying textures.
On a new layer, change the colour swatches to their default black and white settings (D). Then go to Filter > Render > Clouds. Change the blending mode to Overlay and tone down to 65% opacity.
Fill a new layer with black, then go to Filter > Noise > Add Noise. Select an amount of around 10%, with the Gaussian and Monochromatic options selected. Change the blending mode to Screen and adjust the Levels (CMD+L) black and white points to create a field of distant stars. Create a Layer Mask and dab areas with a large soft brush to add variance to their intensity, making some brighter than others.
Download this handy collection of Star Brushes, then set up your brush settings in Photoshop as follows. Select a star brush from the pack and turn down the size, also adjust the spacing to 1000%. Under the Shape Dynamics tab, change the Size Jitter to full and Minimum Diameter to 0%. Under the Scattering tab, change the Scatter to full.
Paint in a variety of stars to fill out the space scene, adjust the brush size between strokes to give a wider range of sizes. Give the star layer an Outer Glow of a light blue, then add a Layer Mask to adjust the intensity of the stars.
Grab the Type tool and create a simple typographic layout. Here I’m using the words Chemical Imbalance, with a fat slab-serif font (Geometric Slab-Serif). The tracking is tightened and leading shortened to spice it up.
Add a Layer Mask to the type layer, then go to Filter > Render > Clouds to erase out random areas of the text.
Duplicate the layer, then add a Gaussian Blur of around 6px. Change the blending mode to Overlay.
Add another clouds rendering to this layer’s mask to erase out different areas of the text. Use a normal soft brush to also manual erase out specific areas of the text layers.
On a new layer, paint in a range of white spots with the Brush tool. Changing these to Overlay will give intense areas of light.
Continue to paint in more dabs of colour, this time spots of yellow around the text.
Add a layer mask to the yellow spots, then add a rendering of clouds to give a textured appearance.
Change the blending mode to Color Dodge to blend the colour spots into the design as casts of vibrant colour.
Paint a spot of pink, then change the blending mode to Dissolve. Add a Radial Blur of around 60% using the Zoom setting.
Merge this pink spot with a new blank layer (CMD+E) to reset the blending mode back to Normal, then change the mode to Color Dodge. Change the Opacity to around 60% to tone down the effect.
On a new layer, draw a spot of white using a soft brush. Grab the mask tool and delete away half of the circle.
Press CMD+T to transform the semi-circle, then stretch and squash it into a cast of light. Rotate it by 45% (hold Shift) and move into position on the design.
Press the ALT key and move copies into various places on the design. Overlap a few casts to give the impression of streaks across the whole design.
Change the blending mode to Overlay to allow the white to interact with the underlying colours.
Sit back and cast your eye over the design, make any tweaks to the opacity of layers or tone down areas with brush strokes to the layer mask to erase out areas taking too much prominence.


0 komentar:
Posting Komentar