1. Create a Strip (Vector Shapes)
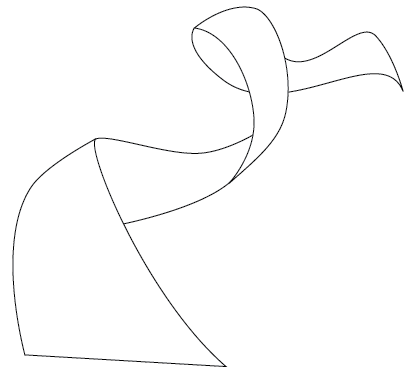
First, create a strip with the Pen tool (either in Photoshop or Illustrator). We will use these shapes as a guideline and for masking purposes.
2. Photo Stack
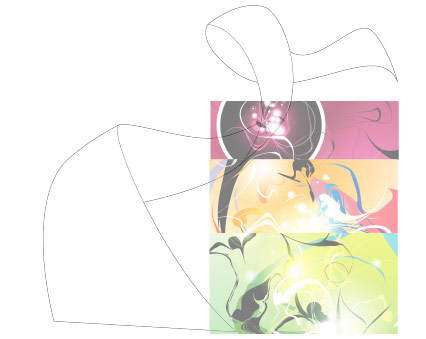
Choose 3 photos of your choice and stack them together.
3. Warping (Photoshop Warp Tool)
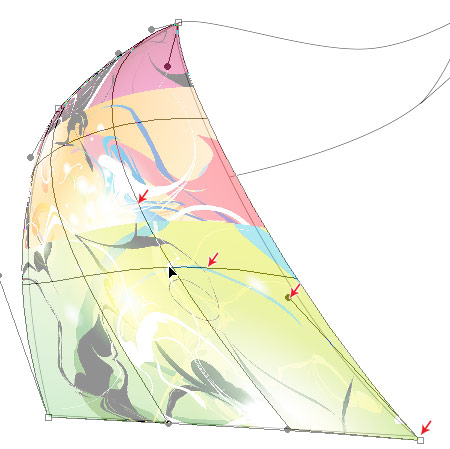
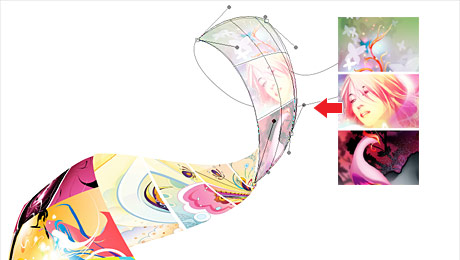
Adjust the layer opacity to 40 or 50% so you can see the guideline underneath. Go to
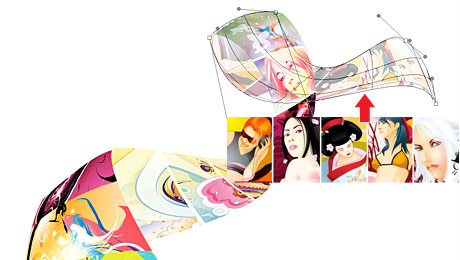
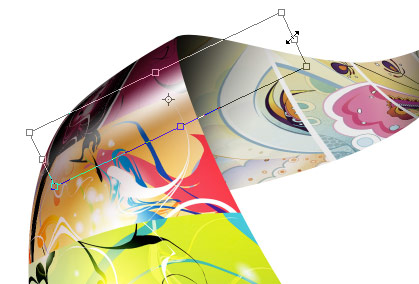
Edit > Transform > Warp. Now you should see a grid and 4 anchor points in the corner. To bending the image, simply drag the anchor points, direction points, or grid lines.
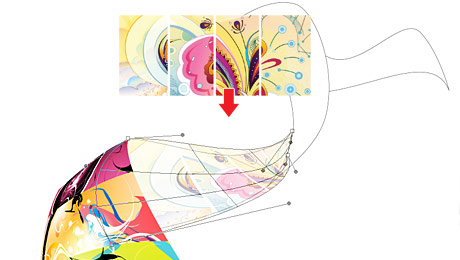
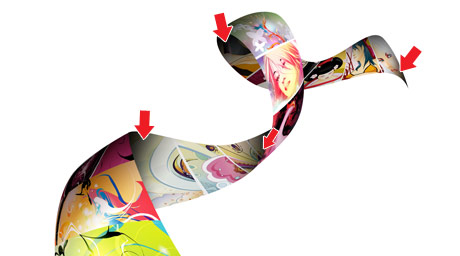
Repeat this step for the rest of the strip. Since this step is relatively simple and repeatitive, I’m not going to get into the details. Here are the screenshots of the steps:
4. Masking
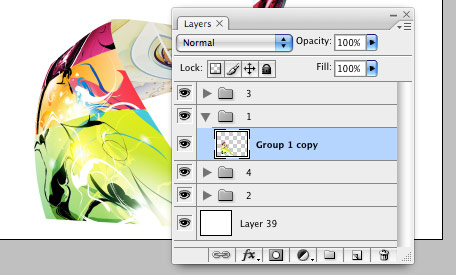
Organize the layers into groups (ie. strip 1, 2, 3, 4).
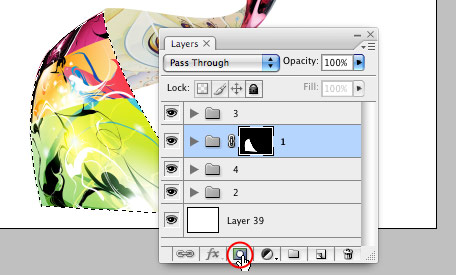
Load selection from the shapes you created in step 1 and add a layer mask for each group (so you get a perfect smooth curve).
5. Shadows
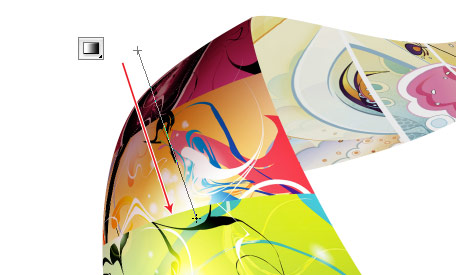
In masked group 1, create a new layer above the strip. Use the Gradient tool and drag from the top to bottom to create a black gradient.
Repeat this step for the other strips.
6. Highlights
To make highlighted and glossy areas: create a round glowing circle, compress it, and rotate it in the angle according to your strip’s direction.
7. Line Strokes
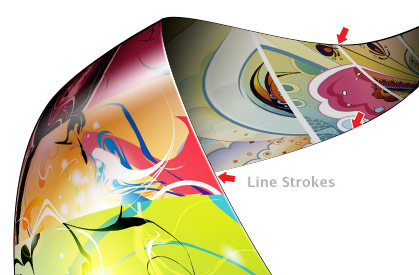
To make line strokes: load a selection of the mask, create a new layer, fill it with black, shift the selection to the left by 1 or 2 pixels, delete the selected area by pressing the Delete key.
8. Final Touches
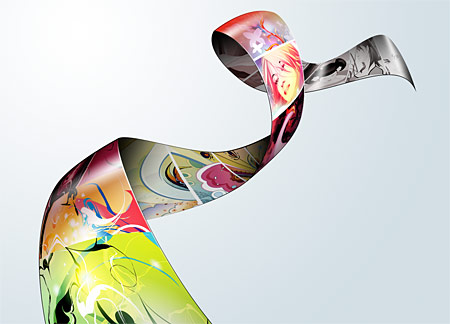
To make the image look more interesting, desaturated the two strips in the back.


0 komentar:
Posting Komentar